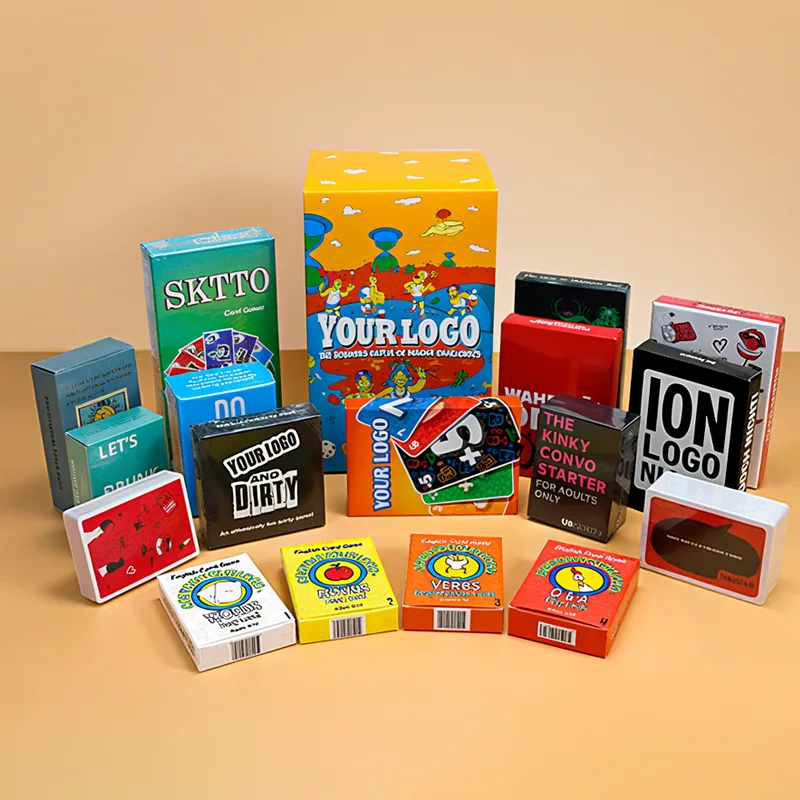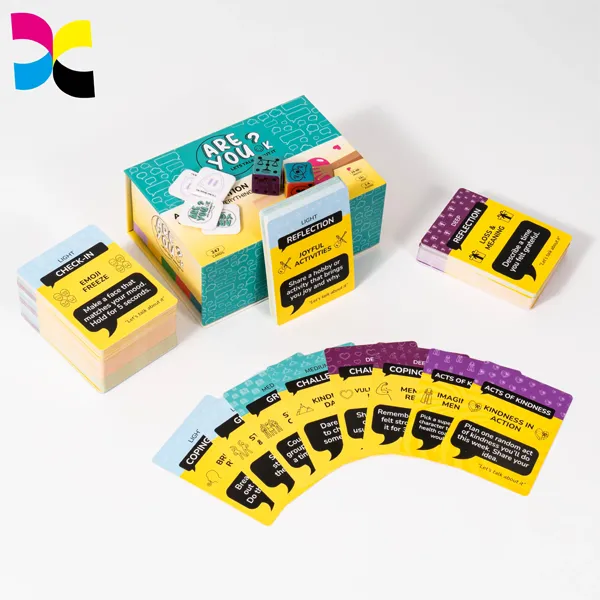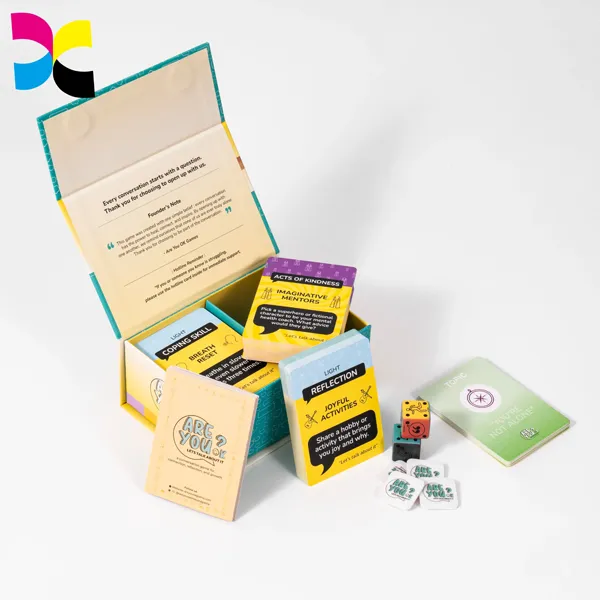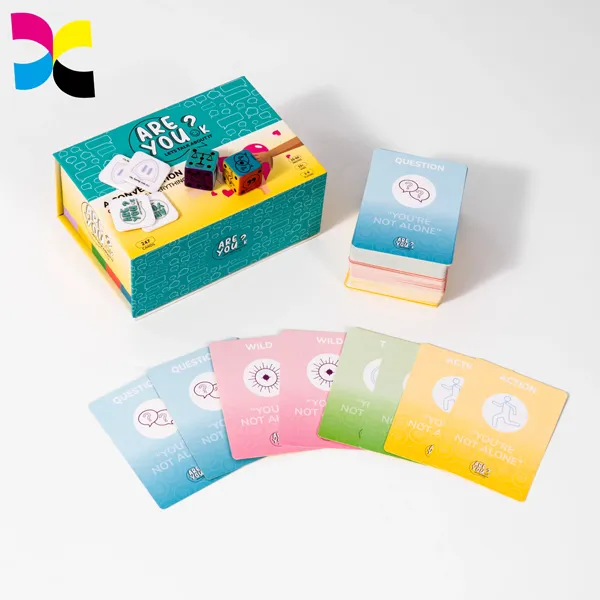
Flashcard manufacturing is a technical workflow where small oversights in material or prepress create costly reprints and erode profit margins. Weak card opacity, missing file bleeds, or loose cutting discipline can compromise an entire production run before it ever ships.
This analysis walks the factory line in order: file check, proofing, printing, surface finishing, cutting, collation and boxing, then final inspection. Along the way, we note which specifications to lock down with your supplier and which claims to verify with physical samples.

Overview of Flashcard Manufacturing Process
Flashcard manufacturing is a standard print-and-finish workflow. It starts with print-ready files, moves to printed sheets, and ends with cut, assembled, and packaged decks.
| Design, Prepress, and Printing | Finishing, Cutting, and Packaging |
|---|---|
|
|
The exact sequence is confirmed with the production plan. Most factories laminate or coat the printed sheets first. Then they cut, round the corners, collate, and box the decks, because coated sheets cut and stack more cleanly than bare stock.
Design Preparation and Prepress Production
Getting prepress right is the factory-floor discipline that prevents cropped text, blurry images, and uneven borders before they become costly production mistakes.
Core Specifications for Print-Ready Artwork
Before any job hits the press, the artwork files must meet a strict set of technical standards. These aren’t suggestions; they are requirements that directly impact the quality of the final printed cards. Getting them wrong leads to reprints and delays.
- A standard bleed of 3 mm (or 1/8 inch) is required. This means extending background colors and images past the final trim line to guarantee there are no white slivers after cutting.
- A safe zone keeps all important text and graphics at least 5 mm inside the trim line. This protects logos, text, and other key elements from being accidentally cut off.
- Image resolution must be 300 DPI (dots per inch) at the final print size for any raster images. Anything less will look blurry or pixelated on the finished card.
- Files need to be in CMYK color mode for standard four-color process printing. If exact brand colors are needed, those must be specified as Pantone (spot) colors.
Prepress Workflow and Final File Validation
The prepress workflow is a series of checks and balances to turn a design file into a verified, press-ready asset. The process starts by building each card face to its exact final trim size. Add the bleed and safe zones, then confirm the front and back content aligns after printing.
All fonts must be either embedded in the file or converted to outlines (shapes). This simple step prevents the press software from substituting a different font, which would ruin the layout. Once the file is built, a preflight check validates all technical details—bleed, resolution, color space, page order—before it’s sent to print. The final step is getting approval on a digital or physical proof, the last chance to confirm every design element before committing to the full production run.
Retail-Ready Educational Flashcards at Scale
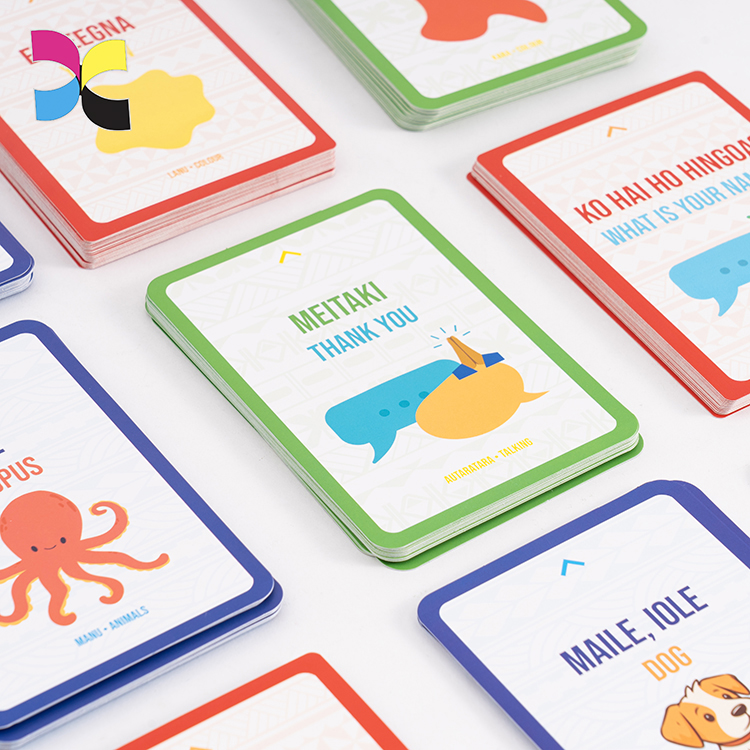
Selecting Paper and Printing Materials
Material choice is a trade-off between rigidity, print quality, and cost. Most commercial flashcards use coated cardstock in the 250–350 gsm band.
Paper weight, measured in grams per square meter (gsm), directly impacts a flashcard’s rigidity and feel. Home-print sheets start around 160–220 gsm, lighter educational decks commonly use 250–300 gsm, and classroom or heavy-use cards usually use 300–350 gsm stock. The factories’ default is coated art paper, often specified as C2S (coated two sides), because it gives a smooth base for sharp printing and adheres well when lamination follows.
Opacity decides whether the answer shows through from the back. Standard coated cardstock is often sufficient, but decks used for serious testing benefit from specialty black-core or blue-core paper, which has a light-blocking layer inside. For the full comparison of stocks, read our guide to what type of paper is best for flashcards.
Printing Methods for Educational Flashcards
The best printing method depends on run size. Factories use offset for large, cost-effective runs and digital printing for smaller, custom, or variable-data jobs.
Choosing how to print educational flashcards comes down to a trade-off between volume, cost, and turnaround time. The two workhorses of the industry are offset and digital printing. One is built for scale, the other for flexibility.
- Offset Printing: This is the go-to for large-volume educational decks with consistent artwork. Our guide to offset and digital printing compares the two methods. The per-unit cost drops significantly at scale, and it offers great image quality. But the high setup cost makes it inefficient for small, custom runs.
- Digital Printing: Factories use digital for short runs, personalized decks, and rapid prototypes. With no plates to create, setup is fast and economical for low quantities. It’s also the practical choice for variable data, like unique codes on each card.
- UV Printing: This is more of a specialty method for premium cards. It produces vivid colors and a highly durable surface that cures instantly. The trade-off is higher equipment and substrate costs, so it’s not used for every project.
Cards are almost never printed one by one. They are arranged in multi-up layouts on large sheets, and double-sided decks typically pass through the press twice, one side per pass, before the sheets move to finishing.
Cutting, Coating and Finishing Process
Once sheets are printed, the real work begins. The finishing and cutting stages determine the final card’s durability, feel, and professional quality. It’s where a printed sheet becomes a product.
Surface Coating and Edge Finishing
Flashcards are meant to be handled. Without a protective layer, ink will smudge, and the surface will scuff from shuffling. Lamination or a protective coating is applied after printing, according to the chosen process, to boost abrasion resistance and overall lifespan. This finish also adds stiffness, which helps achieve cleaner cuts during the die-cutting process.
Card Cutting and Shaping
After printing, finishing, and drying, large sheets are converted into individual cards. This isn’t a simple trim job; precision is everything. The primary method is die-cutting, where a custom metal die punches cards from the sheet. For double-sided cards, maintaining front-to-back alignment through the cut is critical, so ask the factory to demonstrate the alignment on a pre-production sample.
The specific cutting method depends on volume, card shape, and precision requirements.
- Rotary Die-Cutting: The workhorse for high-speed production of standard rectangular cards.
- Flat-Bed Die-Cutting: Slower but better suited to complex shapes and shorter runs.
- Guillotine Trimming: Used for straight cuts through stacks of sheets, before or after lamination, but limited to simple shapes.
- Laser Cutting: Reserved for intricate, custom shapes where flexibility matters more than speed or cost.
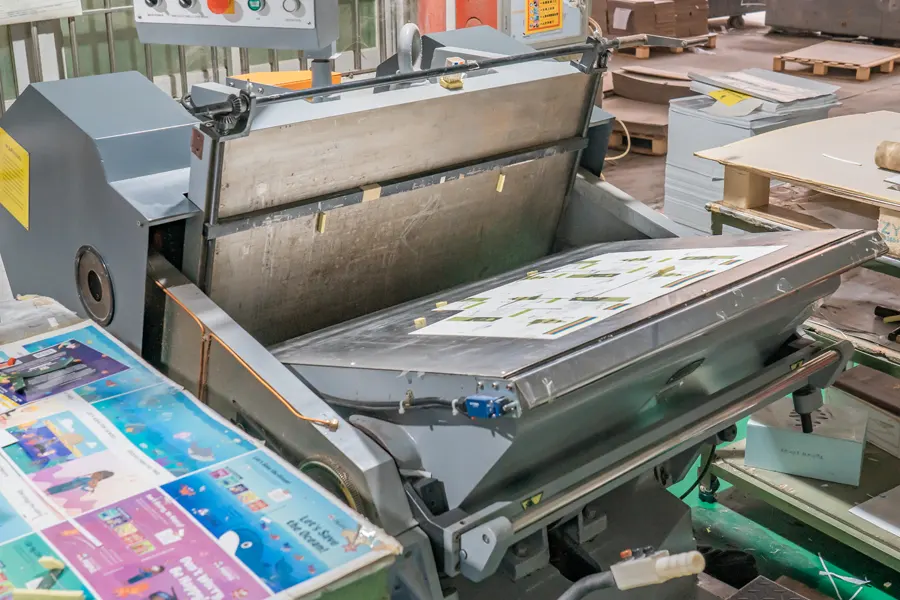
The cutting pressure must be carefully controlled. Too much force can crush paper fibers, leading to fuzzy or frayed edges that feel cheap and unprofessional. After cutting, the waste material, or “skeleton,” is separated and removed.
Finishing isn’t just about the card face; the edges and corners matter just as much for handling quality. Square corners from a guillotine cut are prone to snagging and wear, which is why corner rounding is a common finishing step. For premium products, some factories press and smooth the cut edge to reduce fuzziness, and black-core stock can even receive colored edges to hide the white paper fringe.
Quality Inspection Before Delivery
The final check is a statistical inspection performed near the end of packing. Inspectors compare samples against an approved “golden sample” to catch defects before shipment.
Inspection Scope and Defect Checks
This isn’t about checking every single card. The goal is to verify the entire lot meets the purchase order before it leaves the factory. Inspectors pull samples to check visual elements like color consistency, print alignment, and text clarity. They also perform dimensional checks, measuring card length, width, and corner rounding against the approved technical drawings.
A big part of the inspection is confirming the card collation is correct. Inspectors verify the sequence of cards in each deck, make sure the count is right, and check for missing or duplicated cards. Finally, they examine the packaging: shrink wrap security, box condition, and whether labels, barcodes, and shipping marks match the order specs.
- Print misregistration or color shifts between batches.
- Inaccurate cuts that lead to off-center artwork or inconsistent sizes.
- Scratches, smudges, or other surface finish defects.
- Damaged or mislabeled boxes that are unfit for retail or distribution.

Sampling Method and Acceptance Standards
Factories perform the final random inspection when production is nearly complete. The exact timing depends on the order size and packing flow, so it is agreed with the buyer rather than fixed by rule. Inspectors don’t check every unit; they use a statistical sampling plan, commonly built on Acceptance Quality Limit (AQL) conventions.
Each sampled unit is compared directly against the approved “golden sample” and the product’s technical specifications. This ensures the production run matches the exact color, material, and finish you signed off on. Defects found during this check are classified by severity to determine whether the batch passes or fails.
- Critical defects are showstoppers and will block the shipment.
- Major defects typically cause the lot to be rejected or sent for rework.
- Minor defects are measured against an agreed quality limit. If the count is below the limit, the order can pass.
All findings, including photos and measurements, are documented in a final report. The order is cleared for shipment after it passes this inspection. If it fails, the goods are held until the issues are corrected and a re-inspection is completed.
Packaging and Global Shipping Preparation
Packaging isn’t just a box. It must survive the supply chain and match the market, whether it’s a simple tuck box or a premium rigid set for export.
Selecting the Right Packaging Format
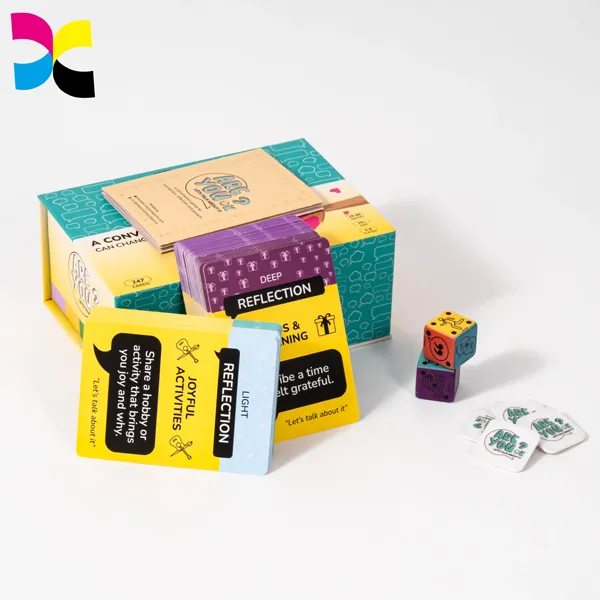
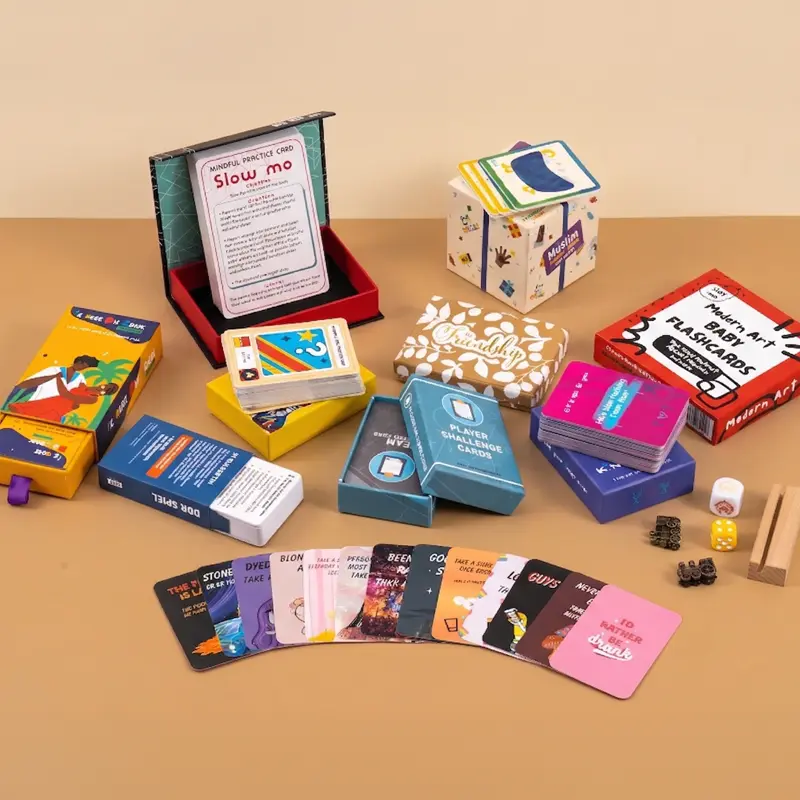
The right format depends on the product’s market position and how it will be sold. Common formats include simple tuck boxes for standard retail, sturdy rigid boxes for premium or gift sets, and basic shrink wrap for bundling cards without a display box.
Box strength is critical. A flimsy box gets crushed in transit, leading to returns and a bad customer experience. Premium products use thicker materials, such as heavy board or mounted greyboard, to provide durability and a quality feel. Lighter-weight materials can suit budget products, but check them against your channel before deciding.
Protective finishes also play a role. Anti-scratch lamination prevents scuffs during handling, and rounded corners on the cards reduce wear from shuffling. These details signal a well-made product and help it survive both shipping and repeated use.
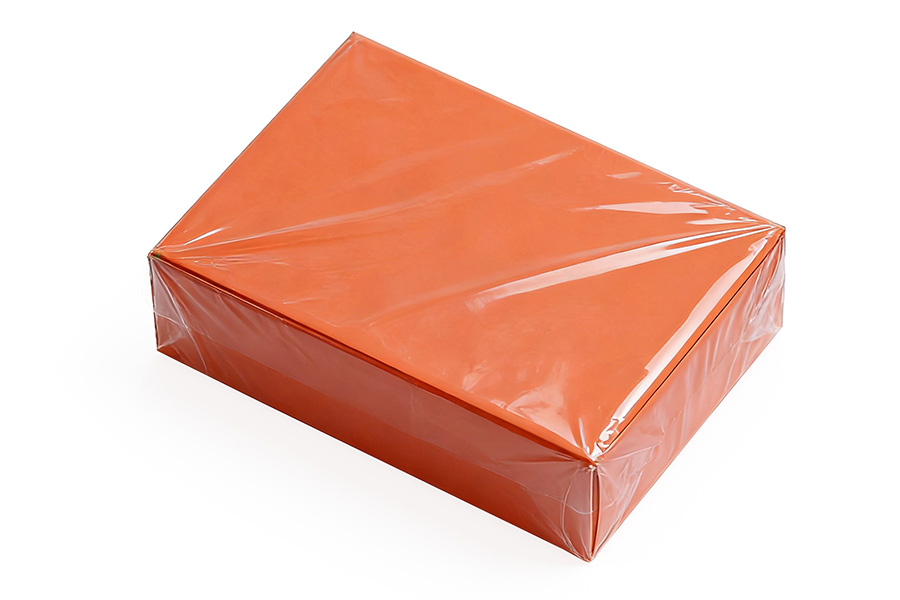
Preparing for International Shipment
Preparing for freight is a different challenge than creating a retail box. Individual packages are grouped into master cartons to protect them. These cartons are often stacked and wrapped on pallets to create a stable unit that can be moved by forklift without damaging the contents.
Export orders also carry documentation obligations that depend on the destination market and the product’s age grading. Confirm the required labeling, safety testing, and import paperwork with your importer or test lab before the run, rather than assuming a fixed checklist applies to every deck. For toys and children’s products sold in the U.S., the CPSC toy safety requirements explain how age grading drives the rules. That page is a reference to the regulation, not a claim that any deck here is tested or certified.
Before any order leaves the factory floor, a final check verifies the packing specifications: materials, the fit of the cards inside the box, and the strength of the master cartons. Final preparation then confirms carton dimensions for logistics planning and assembles the export documentation, so the shipment moves through customs without costly delays or repacking.
Frequently Asked Questions
What is the flashcard manufacturing process?
Flashcard manufacturing follows a print-and-finish workflow. Design files are checked and proofed, then printed in large batches on sheets of cardstock. After the ink cures, the sheets are laminated or coated, cut into individual cards, sorted into ordered decks, and packaged in boxes or shrink wrap for shipping.
Can factories produce custom flashcards?
Yes, factories commonly produce custom flashcards for schools, publishers, and businesses. You can specify the card size, paper thickness, finish, corner style, and number of cards per deck. The process runs from artwork submission through proof approval to the full production run.
What type of paper is used for flashcards?
Professional decks typically use 250–350 gsm coated cardstock, which balances stiffness, print quality, and cost. Home-print projects can start at 160–220 gsm. A matte or gloss coating protects the print, and core papers block show-through on double-sided decks.
How long does it take to manufacture flashcards?
Standard production usually takes about 10–15 working days after the design is approved. The schedule shifts with order size, finishing complexity, and the factory’s queue, so confirm the timeline in writing when you request a quote.
Final Thoughts
Anyone can print on cardstock, but the workflow above is what separates a professional product from a cheap disposable. Weak decisions in material selection or finishing lead to frayed corners, off-center cuts, and a brand reputation that suffers with every shuffle.
Don’t guess on quality—verify it. Request a physical sample to evaluate paper stocks, lamination, and cutting firsthand, and confirm each production step against your own spec sheet. When you’re ready to produce a deck built to these standards, contact our team to discuss your project’s OEM requirements.